Geen reacties
SmartLinkBuilding
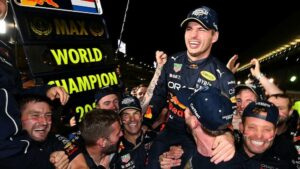
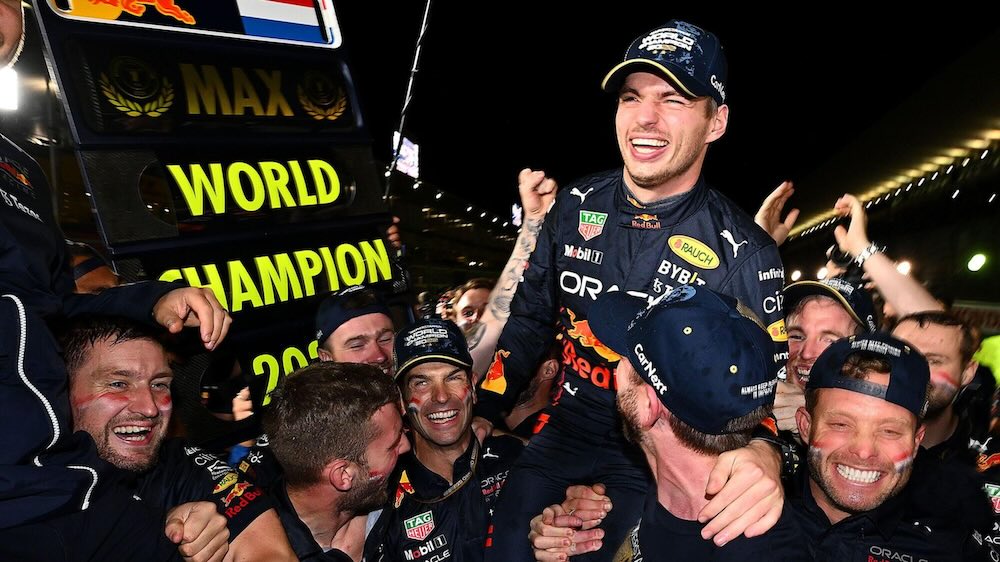
Red Bull Racing is een vooraanstaand team in de Formule 1, dat bekend staat om zijn dynamiek, innovatie en competitieve geest. Het team heeft sinds zijn intrede in de Formule 1 in 2005 een opmerkelijke reis doorgemaakt, geleid door teambaas Christian Horner, en heeft zich gevestigd als een van de...